|
Online training…sounds like hours of work, right? Not with Solid Capture and Microsoft® Word. In this tip we show how to make a quick online tutorial demonstrating a new feature from one of our own software products, Solid Converter GX.
How to Create a Tutorial Using Solid Capture and Microsoft® Word
Step 1 - Create a Word Document and Add Text
Open a new Word document. You can select the styles, font, and text size you want to use in your tutorial and add any text you wish. In our example we are creating a stepped procedure. Each step in the procedure has a number, a short description, and a detailed explanation of the step the user is to perform. Step 2 - Activate Solid Capture and Make Screen Shots
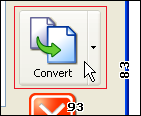
In our tutorial, we'll show both close-ups and full screens from our software. In this instance, we want to just show a button and the area directly around the button. To draw a rectangle around the button and "clip" only that portion, select CTRL F11 (the default hotkey for rectangle capture), then click and drag around the button.
You can also use the Solid Capture interface to add a screen shot. To activate the interface, double-click the small green icon in your system tray at the lower right corner of your screen. To take a screen shot of an entire window, click the Window button, then hover your mouse over the dialog box you want to capture. When a line displays around the area you want to capture, click your mouse button.

Step 3 - Paste the Screen Captures Into the Word Document
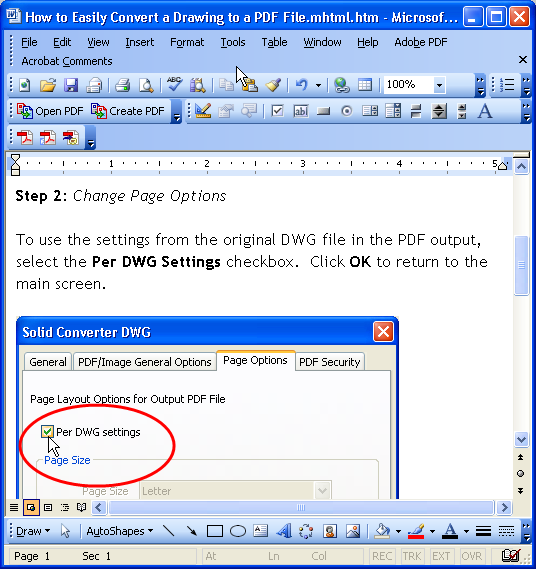
There are many ways to paste the screen shot into your tutorial. The easiest is to click in the Word document where you want to insert the screen shot and use the CTRL V command to paste from your clipboard. (Hint: If you want to add a thin border around your screen shot, click the Options button and choose Border Weight 1 pixel.) Another way you can add images to your Word document from Solid Capture is by using drag and drop. In Solid Capture, click the image you want to drag (or CTRL Click multiple images if there is more than one), drag the image to the Word document, and release the mouse at the location where you want to insert the images. Step 4 - Add Finishing Touches
If you wish, you can add callouts to the pictures using Word's drawing tools. (If the drawing toolbar is not already displayed, select View | Toolbars | Drawing to display it.) In this instance we added an ellipse around the checkbox the user needs to select to activate the feature discussed in the tutorial. To make the ellipse transparent we clicked the "bucket" tool (Fill) and selected No Fill. We also changed the line width and line color using the tools to the right of the Fill tool.
Step 5 - Publish Your Tutorial
You have numerous publishing options for your new tutorial. You can keep it as a Word document, save it to HTML using File | Save as Web Page, or, if you have a PDF program such as Solid Converter PDF to Word, you can save it as a PDF file.
| 
