|
Entrenamiento en línea...parece que toma horas de trabajo ¿no? Pero con Solid Capture y Microsoft® Word, no es así. En este consejo le mostramos cómo hacer una clase en línea rápida con una nueva característica de Solid Converter GX, uno de nuestros propios productos.
Cómo Crear una Clase Utilizando Solid Capture y Microsoft® Word
Paso 1 - Crear un Documento Word y Agregar Texto
Abra un nuevo documento en Word. Puede seleccionar los estilos, la fuente y el tamaño del texto que desea utilizar en su clase y puede agregar el texto que desee. En nuestro ejemplo, estamos creando un procedimiento con pasos. Cada paso del procedimiento tiene un número, una breve descripción y una explicación detallada de la acción que va a ejecutar el usuario. Paso 2 - Activar Solid Capture y Ejecutar Pantallazos
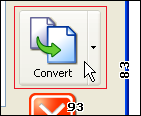
En nuestra clase, vamos a mostrar tanto acercamientos como pantallas completas de nuestro software. En este caso, sólo queremos mostrar un botón y el área justo alrededor del botón. Para dibujar un rectángulo alrededor del botón y "cortar" únicamente esa parte, seleccione CTRL F11 (la combinación de teclas por defecto para una captura con rectángulo), luego haga clic y arrastre alrededor del botón.
You can also use the Solid Capture interface to add a screen shot. To activate the interface, double-click the small green icon in your system tray at the lower right corner of your screen. To take a screen shot of an entire window, click the Window button, then hover your mouse over the dialog box you want to capture. When a line displays around the area you want to capture, click your mouse button.

Step 3 - Paste the Screen Captures Into the Word Document
There are many ways to paste the screen shot into your tutorial. The easiest is to click in the Word document where you want to insert the screen shot and use the CTRL V command to paste from your clipboard. (Hint: If you want to add a thin border around your screen shot, click the Options button and choose Border Weight 1 pixel.) Another way you can add images to your Word document from Solid Capture is by using drag and drop. In Solid Capture, click the image you want to drag (or CTRL Click multiple images if there is more than one), drag the image to the Word document, and release the mouse at the location where you want to insert the images. Step 4 - Add Finishing Touches
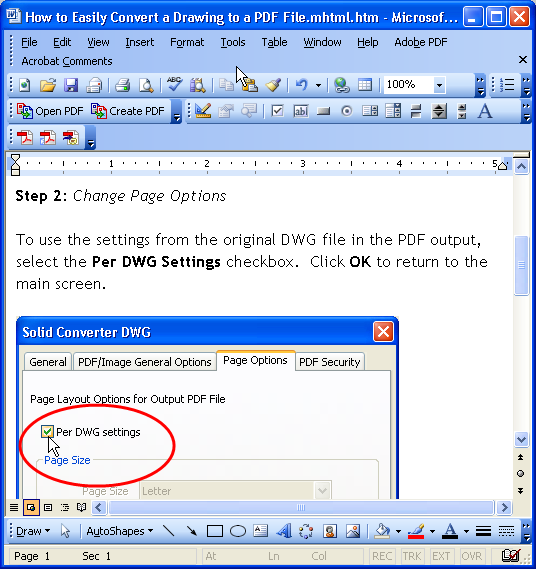
If you wish, you can add callouts to the pictures using Word's drawing tools. (If the drawing toolbar is not already displayed, select View | Toolbars | Drawing to display it.) In this instance we added an ellipse around the checkbox the user needs to select to activate the feature discussed in the tutorial. To make the ellipse transparent we clicked the "bucket" tool (Fill) and selected No Fill. We also changed the line width and line color using the tools to the right of the Fill tool.
Step 5 - Publish Your Tutorial
You have numerous publishing options for your new tutorial. You can keep it as a Word document, save it to HTML using File | Save as Web Page, or, if you have a PDF program such as Solid Converter PDF to Word, you can save it as a PDF file.
| 
