Wie füge ich eine transparente Farbe ein oder ändere diese?
Using Solid Converter GX’s easy wizard, you can change the color depth and transparency of your files. Changing color depth is useful to create smaller file sizes (less depth=smaller file). It is also useful for creating special effects like black and white or a “grainy” texture. Changing or creating a transparent color (alpha channel) allows a background color to show through your image. For instance, you could create a Web page with a blue background. By selecting one color on your image (such as white) to be transparent and placing that image on your Web page, the blue color would be visible anyplace where the previous color (white) used to display. (Note: Transparency works best where solid blocks of color appear. It does not work well for images such as photographs.) Step 1
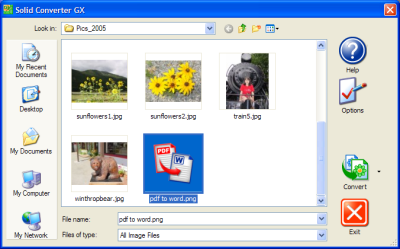
Open Your Image File and Begin Wizard
Click the file of choice, then click the Convert button or select Convert Using Wizard from the drop-down arrow.
Step 2
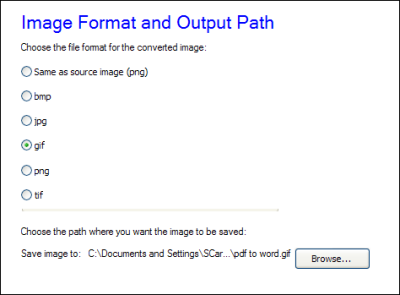
Select Image Format and Output Path
Select the file format to which you wish to convert the file. If you want the file format to stay the same, select the Same as source image option. Note: If desired, you can also select a new output path or file to which the new image will be stored.
Step 3
Select Color Depth
Select the image color depth. Generally, higher color depths produce higher-quality images; lower color depths produce lower-quality images. You will be able to see the results of your selection in the preview window. Click Next when finished.
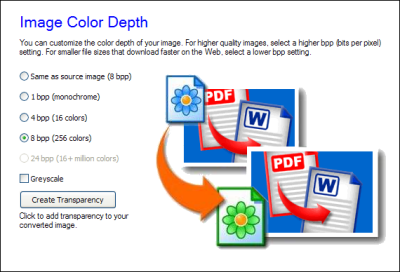
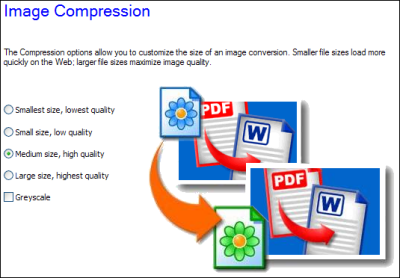
Note: Depending upon your image format, your options may be restricted. (For example, GIF files must be 256 colors or less.) For JPG files, you will see the following selections:
Step 4
Change Transparency
Click the button to change your transparency. Depending on the output file selection, the button will either say Create Transparency, Change Transparency, or Reuse Transparency. After clicking the button, a Transparency pop-up box will display. Note: This option will be unavailable for TIF and JPG files. When converting to BMP, it is available only at color depths of 24 bpp or above. Step 5
Select New Transparency Color
If the button in step 5 said Create Transparency, you can click the Create Alpha Channel with Color selection, then click the Choose Color button. A color selector will display. Move your mouse to the color you want to make transparent, then click the left mouse button to select that color. Click OK when finished.
If the button said Reuse Transparency in the previous step, you can either select a new transparent color with the Windows color picker or remove the transparency. Click OK when finished. Step 6
(Optional) Open Preview Image
If desired, you can click on the preview image to open and view a larger version. Close the window when finished, then select Next to continue.

Step 7
Finish and Convert Graphic
Check your selections. If they are OK, click Finish. If they are not OK, click Back to return to a previous screen.

A conversion progress window will display while the file is being converted; click Close when your conversion is done.
| 